Concours Update
For those of you following along at home:
- The rear end is finished, including new rubber, lube, and a caliper rebuild (which involves replacing all of the rubber parts and cleaning the piston down to just brass). For what it's worth, the mufflers are extremely easy to remove, and this is almost necessary in order to gain access to the rear wheel. Plus, it's a lot easier to shine up the mufflers off the bike!
- A new battery has been installed. This led to the discovery that the fuel sender suffered the same fate as the petcock valve: it has to be replaced because the insides are basically gone! That part is on order, but I still haven't received the new petcock from Ron Ayers yet, which is disappointing because I could have had the part in hand by now if I went through my local Kaw dealer (Honda East in Maumee, OH).
- Oil has been changed. Now, this one was interesting. I had never drained used synthetic oil before, so I was expecting some dirty sludge resembling pitch to slowly drain out. But, this 8-year old stuff was still very "watery", and almost reminded me of Automatic Transmission Fluid. I had to check twice to make sure that I opened the right drain!
- The front end is finished, including new rubber and two rebuilt calipers. When I took my tire in to the dealer to have it mounted, they informed me that I had a 17" tire, but an 18" rim. Blah! So, I had to buy another front tire--no big deal... Except that 120/70R18 is not a common tire size, and it was 4:30 PM on a Friday before the Memorial Day weekend. Luckily, they did have a 130/70R18 onhand (Goldwing front tire), so I agreed to purchase that. Other people on the COG forums use this size, so I think I'll be okay.
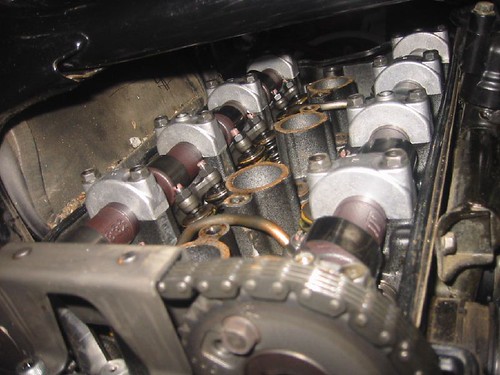
- Valve clearance was adjusted. The biggest pain about doing this is that you have to remove so much plastic to get to the valves. I used a 0.006" feeler for intake, 0.008" for exhaust, and every valve was tight. The books just tell you to adjust the clearance, but don't really describe what this means. What you're trying to do is allow the feeler to fit in between the valve adjuster stud (rocker arm) and the valve stem itself, and when it's there, there should be no play in the adjuster (i.e., you're setting the total play to the thickness of your feeler gauge). I also noticed that sometimes, when I would torque the locknut, that the adjuster stud would tighten a little (this only happened for a few of the valves, but still made me work a little bit for the proper adjustment). So, be sure to check the clearance after the locknut has been torqued.
- The Fuel Tank IS FINISHED!!! This includes restoring the tank with the POR-15 kit, and replacing both the petcock valve and the fuel gauge sending unit. I'm a little peeved, though, because one time when I had the tank upside down, it slid off of the towel that it was sitting on and took some nice scratches from the concrete. >(
So, I went to start it up today. It just cranked, but never fired. Tested spark, and it was good. Squirted a little starting fluid into the airbox, and the engine ran on it, but stalled when the ether was used up. That means that it's a fuel problem, and that also means that I have to do something that I now dread: pull the carbs again.
Well, off came all of the plastic, and just before nightfall, the carbs were freed. The only carb that had gas in it's float bowl was #4, so this should be an easy fix: I just need to free up the stuck needle valves. While I'm in there, I'll make sure that all of the jets are open and that there's no residual varnish anywhere... Sigh... I knew I should have done this when the carbs were off before (putting them back on is a little challenging).

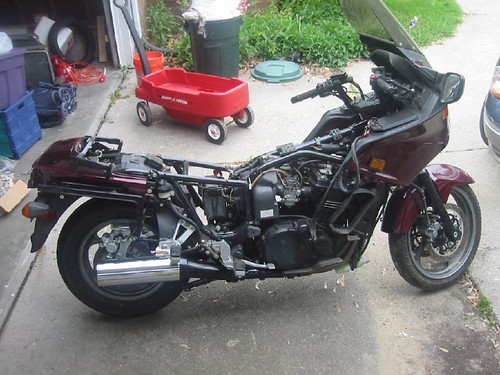
Fairings removed
Under the valve cover
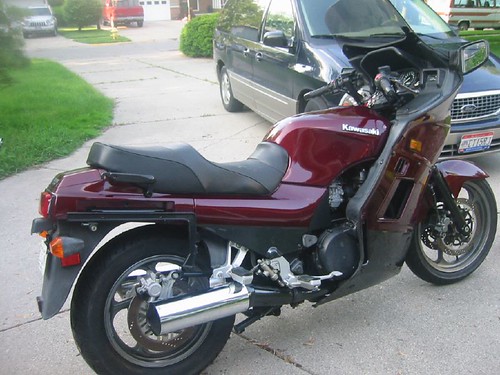
Everything put back together
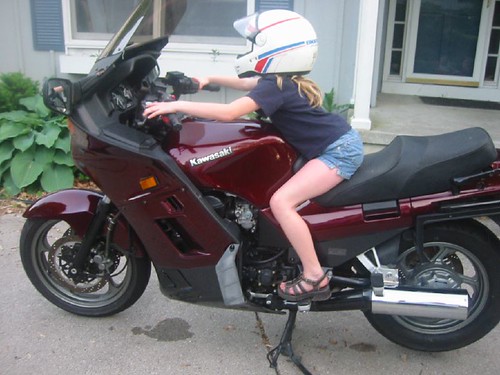
Allie on the bike

|